Curbside desk rescue

Two furniture projects done in one weekend! I got this desk off the curb, in the rain, on trash day, while on my way to pick up a different item.

My original plan for this one was to lighten up the whole thing to make it feel more airy despite the upper fence, closed back, and sides. A lighter color would also highlight the handy lower shelves. It's a small desk fit for a small space, and light colors make everything feel bigger and less cramped.

Here's how the top surface looked... a water ring smack in the middle, lots of scratches on the glossy finish, and noticeable wear on the front edge. The whole desk had a glossy finish that really highlighted every single scratch that had accumulated on it over time. I planned to sand it down to bare wood and go from there based on how the wood grain looked. (If the grain looked weird, hide it somewhat with a white wash. If it looked good, stain it a light natural color or maybe even keep the bare wood look.)

I really should have bought a rectangular or mouse sander instead of my big orbital sander... I couldn't fit the sander in any of the corners and had to sand the finish off those parts by hand.
The wood I revealed was pretty alarming. It had been hidden under the dark stain and scratched up surface, but now all its oddities were in plain view. The table top was made up of multiple panels of inconsistent widths. And two panels in the middle had a very swirled grain, with big noticeable dark spots that stood out. I have no idea why those spots are like that -- they wouldn't sand away.
After some research I learned that black stains on wood could be water stains, and that water stains could be removed with a paste of oxalic acid. I bought some Barkeeper's Friend (which contains oxalic acid) and tried that, but to no avail.
So basically, my plan was already getting derailed. A whitewash wouldn't be able to hide those dark black areas -- it might even highlight them. The only solution seemed to be returning to the original dark stain to camouflage all the weirdness. This was a letdown because I'm not usually a fan of dark wood -- it feels dated. Another option was a black or dark espresso stain, which is more black than wood-colored. But that's a more modern look, which doesn't match the overall shape and look of the desk.

Next I moved on to repairs. There wasn't much to fix; the desk was structurally in good condition. There were these really gross pads attached to the bottom of it though, which had gotten soaked in the rain. I took them off, but the front of the right leg was a little soft on the bottom. The wood had probably absorbed some water and softened up. Even just rubbing it with my fingers, fibers of wood were coming off it. I sanded it all down until the soft and falling-apart wood was all gone, and only hard, dry wood remained. Since the legs are wide, this didn't end up affecting the levelness of the table -- no wobbliness to fix.

By this point I had decided on a color for the rest of the desk. I used "Sunday Tea" from Country Chic Paint, which is a light, warm, grey-white. (Honestly, it was really hard choosing between slightly different off-whites. I'll admit my decision was partly driven by which ones were available on Amazon Prime at the time.) This color with the dark wood surface would give a farmhouse / rustic / country look that matched well with the curved cutouts on the side of the desk. I normally wouldn't go for that kind of look, but that's where I landed since I had to stain the top dark. Anyway, there were a few shallow, cosmetic dings and dents all over the table, but those are usually standard for the decor style this desk would fit in, so I didn't bother to fix them.
It was time to paint, so I very carefully covered up the new beautiful wood top with some painter's tape, and reused brown paper that came in an Amazon package.

We had one of those surprising weeks of amazing weather that always happens during Boston spring. I dragged out my furniture and had a great weekend soaking up sun and priming and painting two projects at the same time.

Once that was all done and I had peeled away the paper covering the desk surface (a very satisfying thing to do near the end of any project), it looked like this:

To bring it all together, I bought some black knobs to tie together the light-and-dark look.
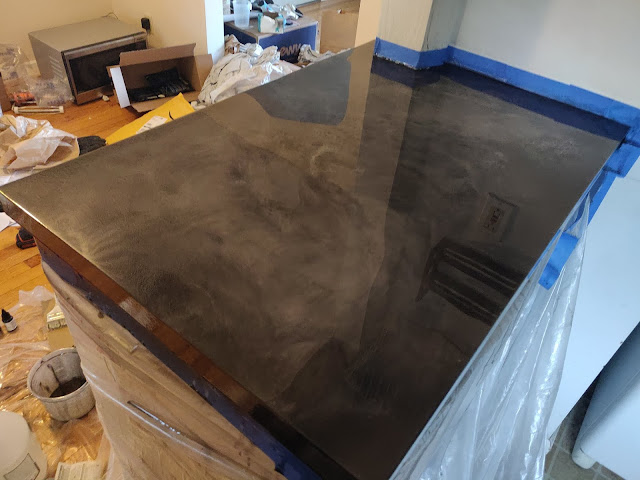
The following weekend was cold and cloudy... no more nice weather for us. I stayed in the garage and top coated both my projects. For this project I specifically went and bought an ultra-flat matte finish (as opposed to the standard satin finish, which has a slight shine), because I loved the natural look of the wood top. I didn't want any gloss to distract from the swirling wood grain and rich dark brown colors.
By the way, polycrylic looks milky white in the can, but it's supposed to dry to a "crystal clear" finish. So I was only a little concerned when I applied it to the dark wood top and it looked a little blue and white. Then I got to the knots. Wood is more textured near knots, so the polycrylic pooled up in that area, which resulted in this terrible look:

I tried my hardest not to panic, telling myself to have faith that it would dry clear. Like I said though, it was a cold weekend, and lower temperatures slow down the drying and cure time. Half an hour later, the pools of polycrylic were dry to the touch, but still looked awful and not at all crystal clear. More panic! I held onto my last shred of faith, let it be, and went and watched some Netflix with Isaac upstairs for a few hours. Thankfully, when I checked on the table a few hours later, the pools had indeed dried crystal clear as promised. Phew!
Ta-da!


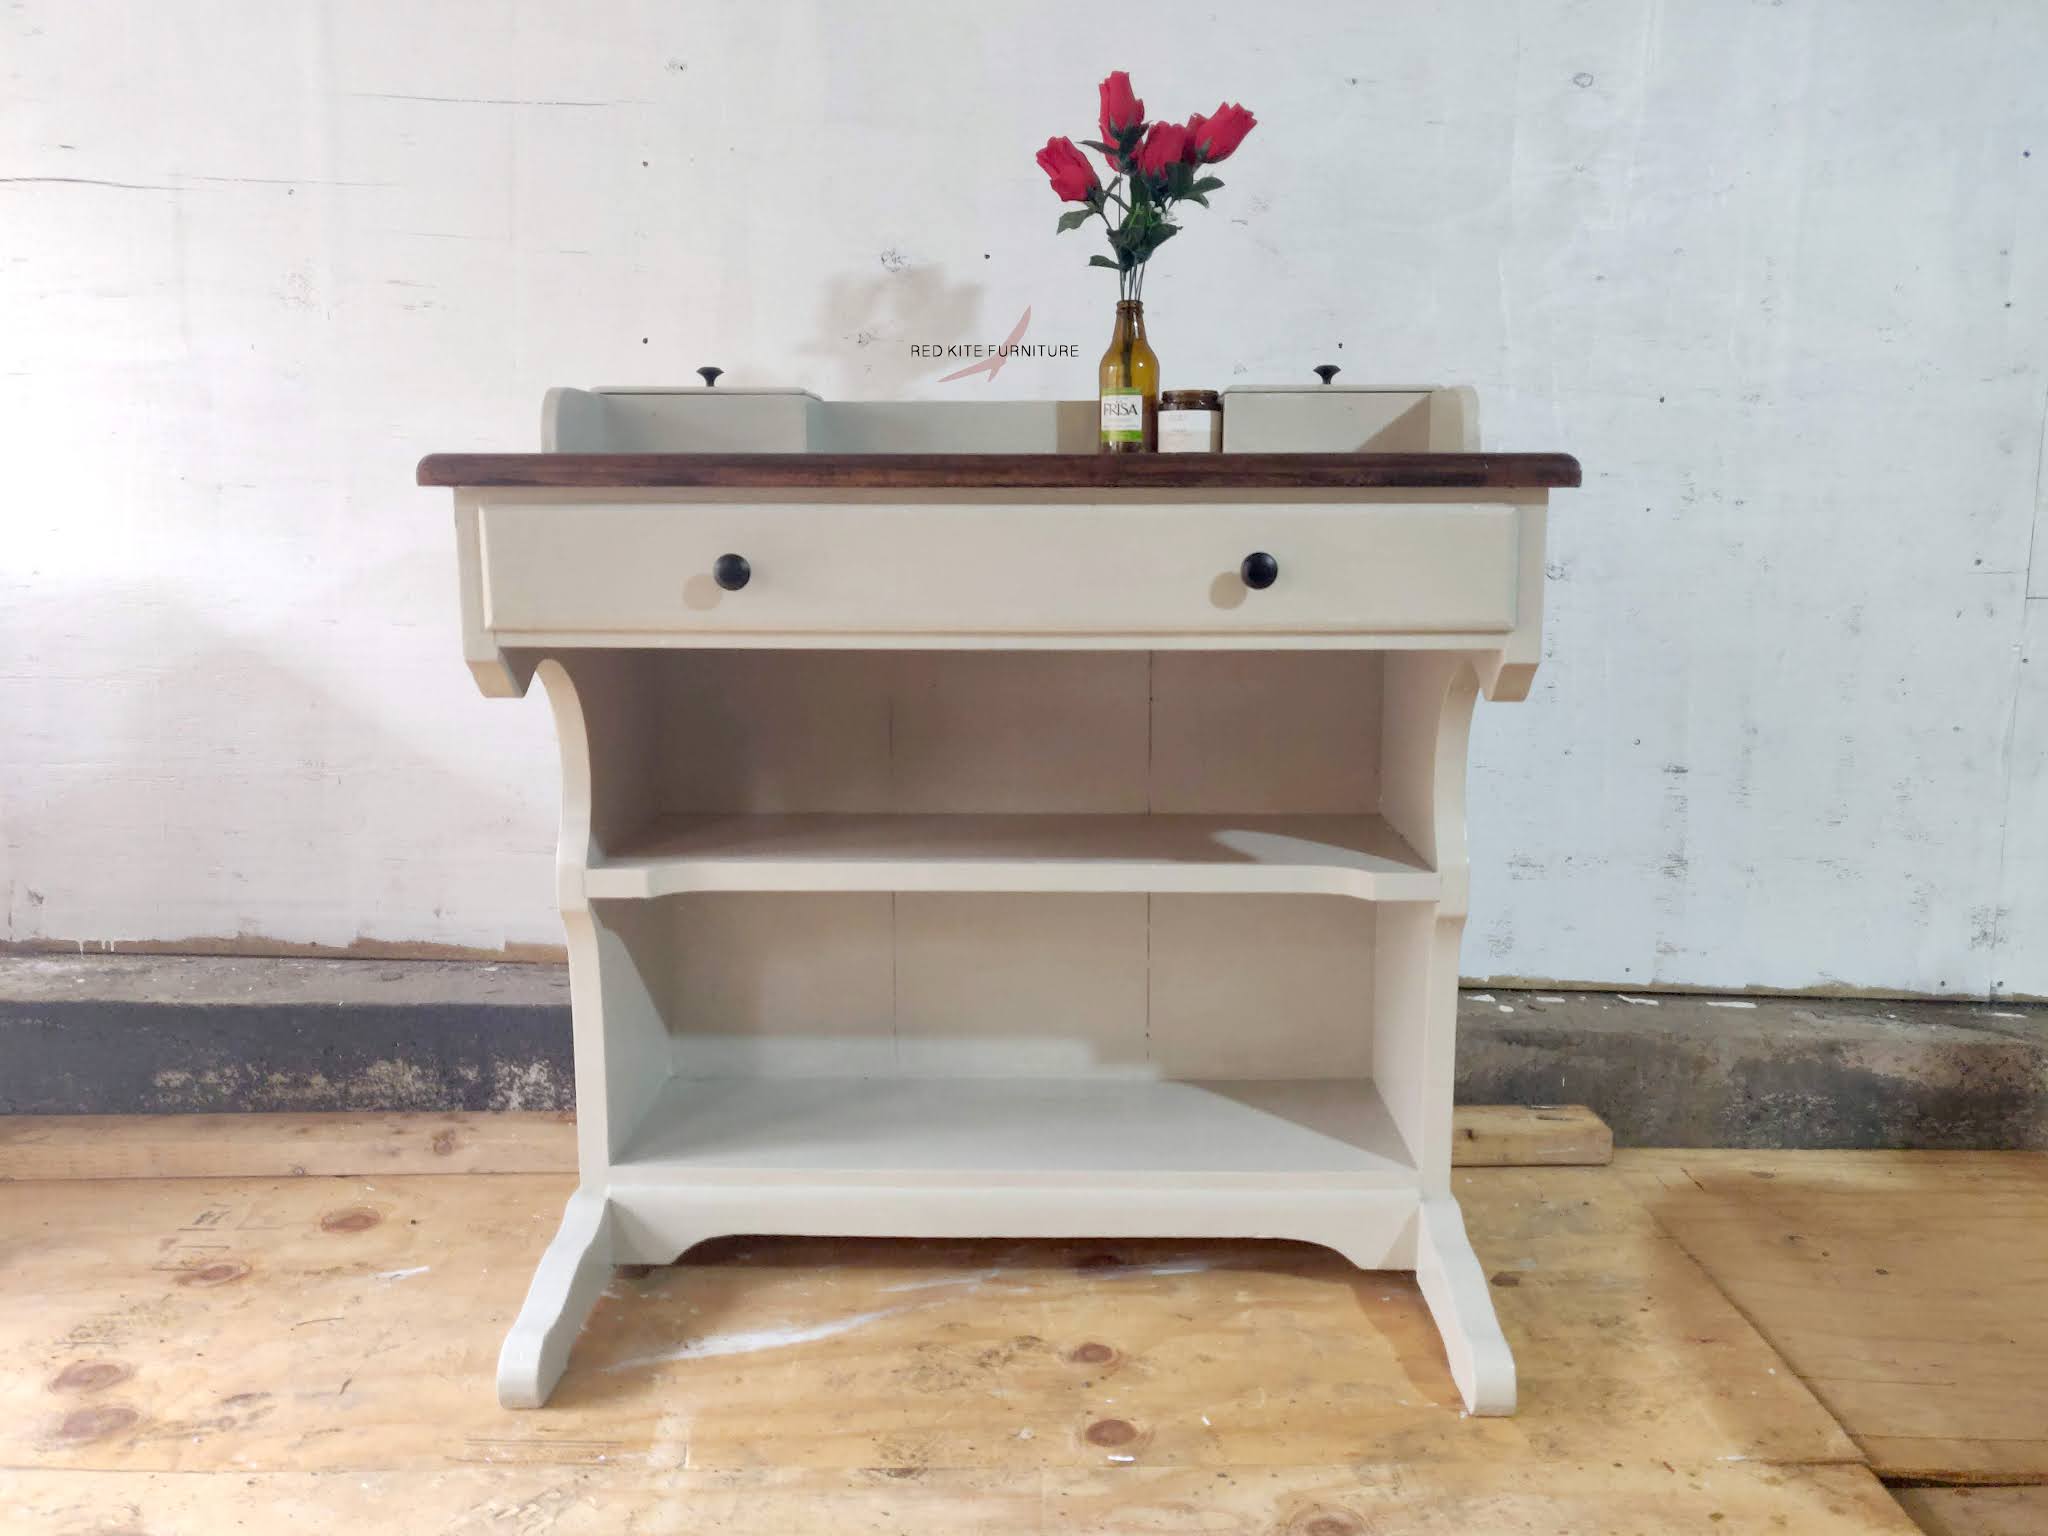


Don't yell at me for using the same vase and candle as last time to stage... they look good, okay?
When I was staging with books and notebooks, I was actually surprised how much storage this guy has. The shelves are kind of short and most books wouldn't be able to stand vertically in them, but they can still fit a lot of books. And the shelf is far enough back from the front of the desk that it's not uncomfortable to sit at. There's also the two little compartments on the top, which is kind of old fashioned but still perfectly functional for holding pens, pencils, post-its, and other random things. And the one drawer is really wide.
Desks sell well during this work-from-home period of time, but this one is definitely small, which limits the field of potential buyers. It's not big enough for a laptop, monitor, and notebook setup like the one I have when I work from home. But it could be a great desk for some old fashioned focus work, like writing, studying, or drawing. I think it's got a great calming and neutral color scheme for that as well :)
This desk is now available for sale on my website! I'll probably hold off on posting to Facebook Marketplace until Friday night, to maximize the views it gets while people are checking Facebook over the weekend. Also I might be slightly attached to it now. :p

Comments
Post a Comment